Introduction
Why Your Subject Matters Even More Than You Think
Defining your subject is one of the simplest, yet most powerful compositional skills you can develop. The subject anchors your Image, and it’s the one thing you want the viewer to see first, without distraction..
The problem is that beginners can really struggle with this, even working out what the subject is when you take a photo can be a little confusing. And then where to place the subject when you have found it, is another issue for a beginner photographer.
But the solution is really simple.
This post will walk you through actual examples that show exactly how to create clarity and focus around your subject, no matter how simple or complex the scene. And most importantly, you’ll learn to trust your own instinct – that inspired moment when something grabs your attention – and use it to create images that just work.
Table of Contents
What is the subject?
The subject of an image is merely the place where the viewer’s eye goes to when viewing the image for the first time.
So that’s mistake number one: You’re thinking that the subject must be a conventional object, like a person, or a tree. But that is absolutely not the case.
The subject itself can be anything you want it to be. A shape, an area of light or dark, or a conventional object.
A simple example
But before we get complicated, let’s start simple and take this image as an example. It’s a very basic composition. So, what do you think the subject is?
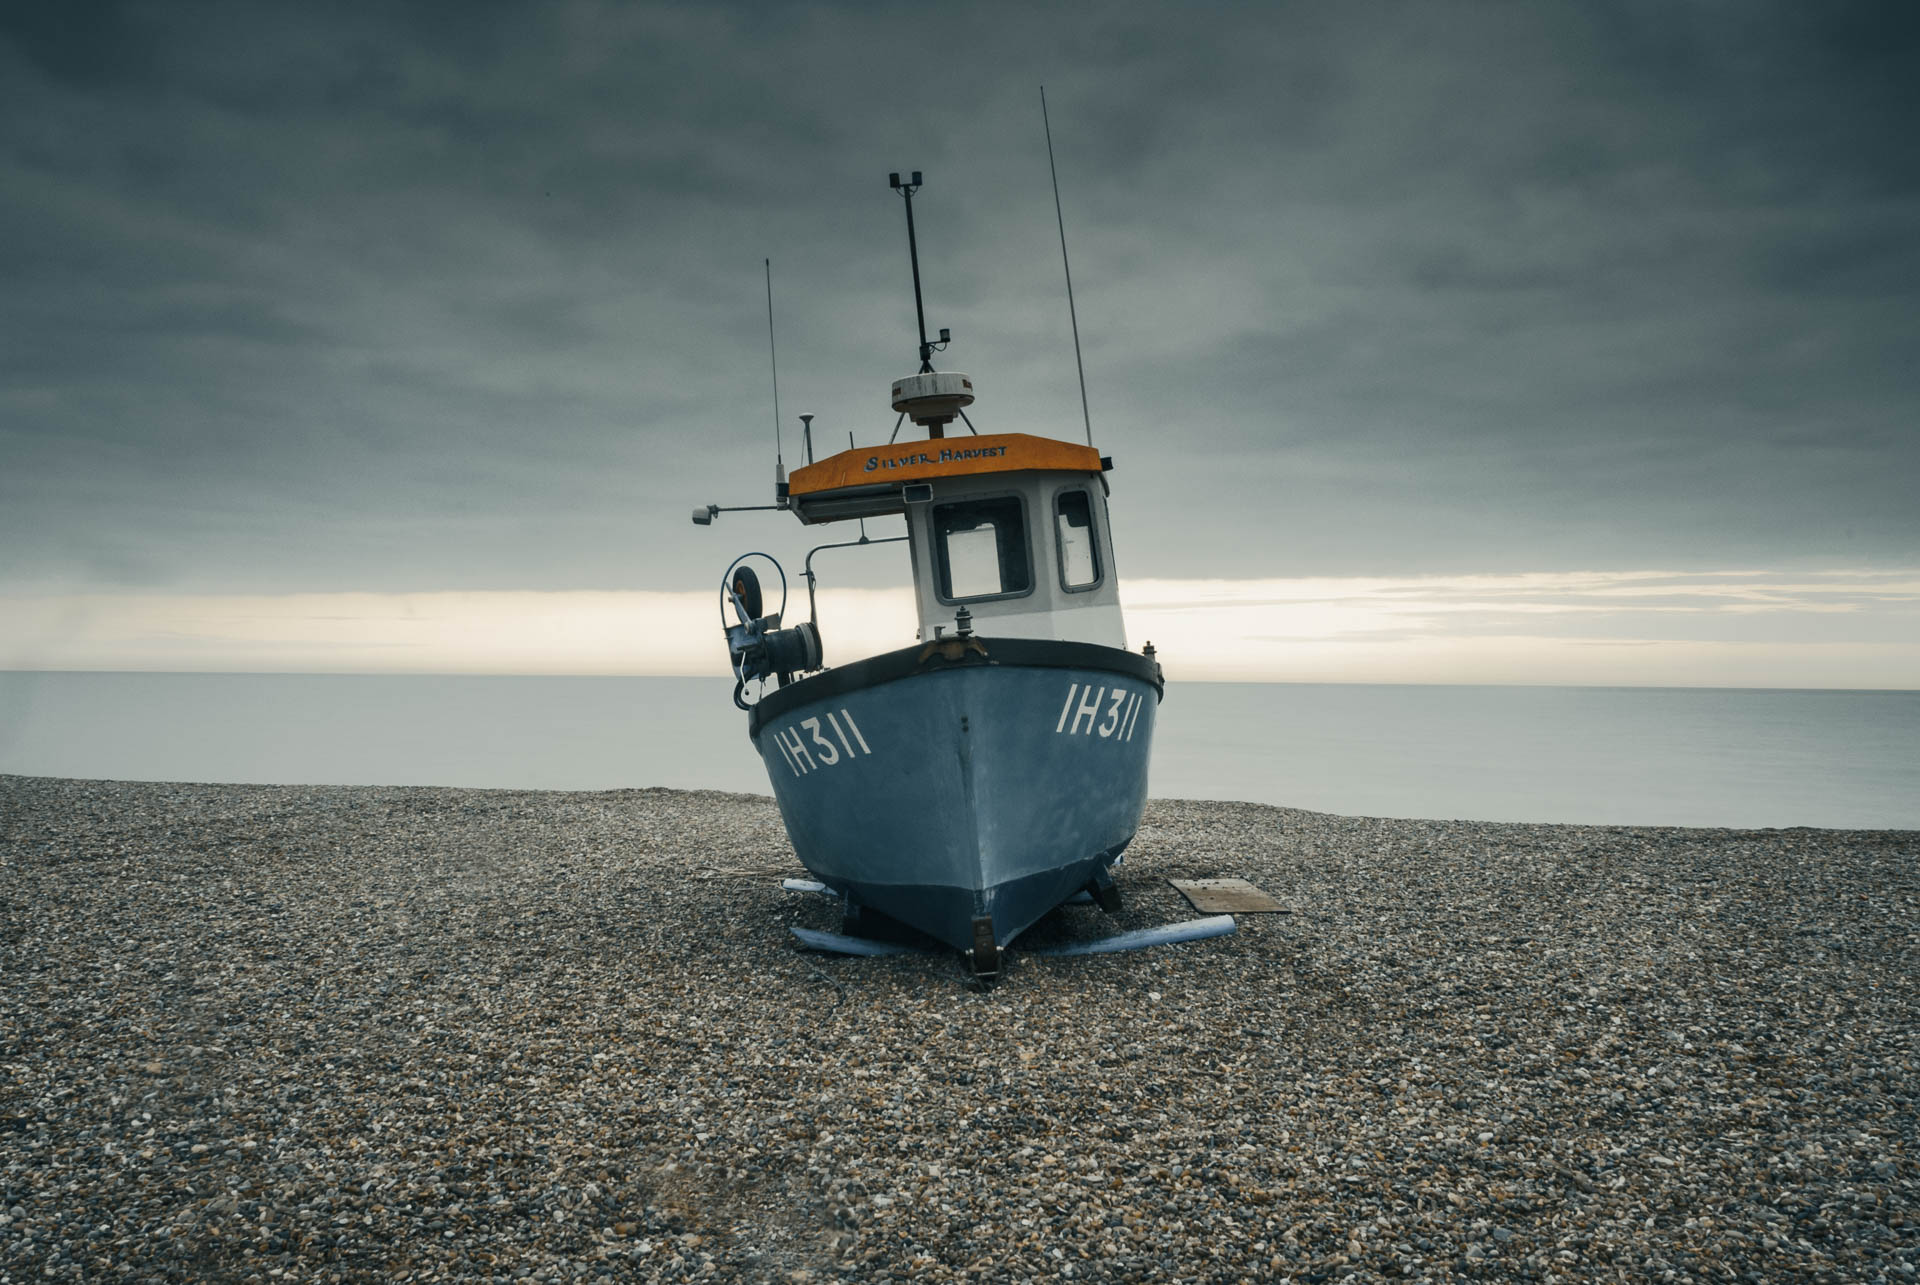
Of course – it’s the boat right in the middle of the frame.
For a photograph to work as well as it possibly can, the viewer’s eye must go straight to the subject the moment they see the image. That’s something you need to think about at the time of taking the photo.
But here’s something important – you have to be utterly selfish about it. Forget what a viewer may think in the future. Forget about what other people think now. This is your moment, these are your decisions. As long as you follow your instinct and gut feeling you’ll be okay. Trust me!
Ask yourself:
- What is the photograph of?
- Where do I want the viewer’s eye to go when viewing the photo for the first time?
Then make sure you place that subject in the frame in a way that guides the eye straight there, without distraction or confusion.
When that happens – no distractions, no jarring – then the image becomes pleasing to the eye.
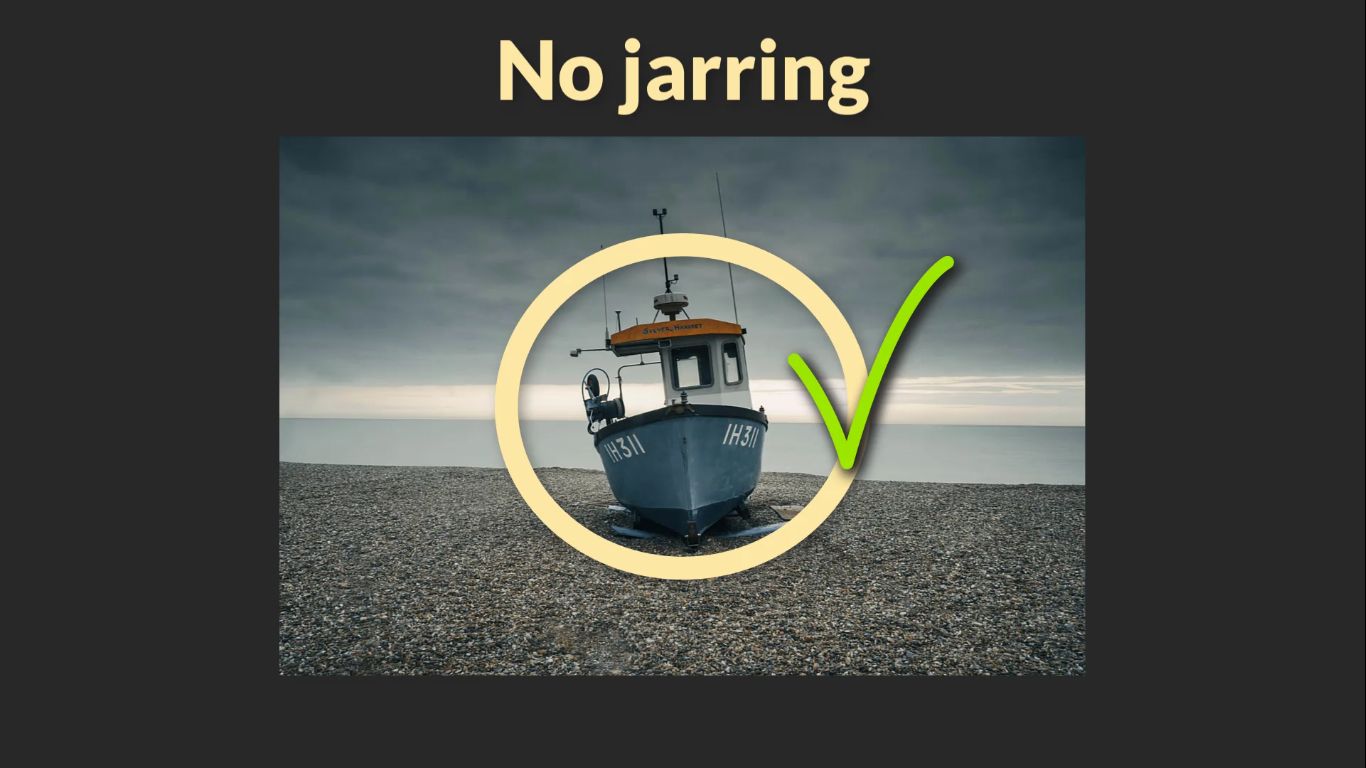
That’s exactly what happens in this photo. And notice this: the boat is in the centre of the frame. I haven’t followed the rule of thirds, and I didn’t need to.
The only thing that matters is whether the viewer’s eye goes straight to the subject. If that happens cleanly, the photo works, regardless of any other rule or guide.
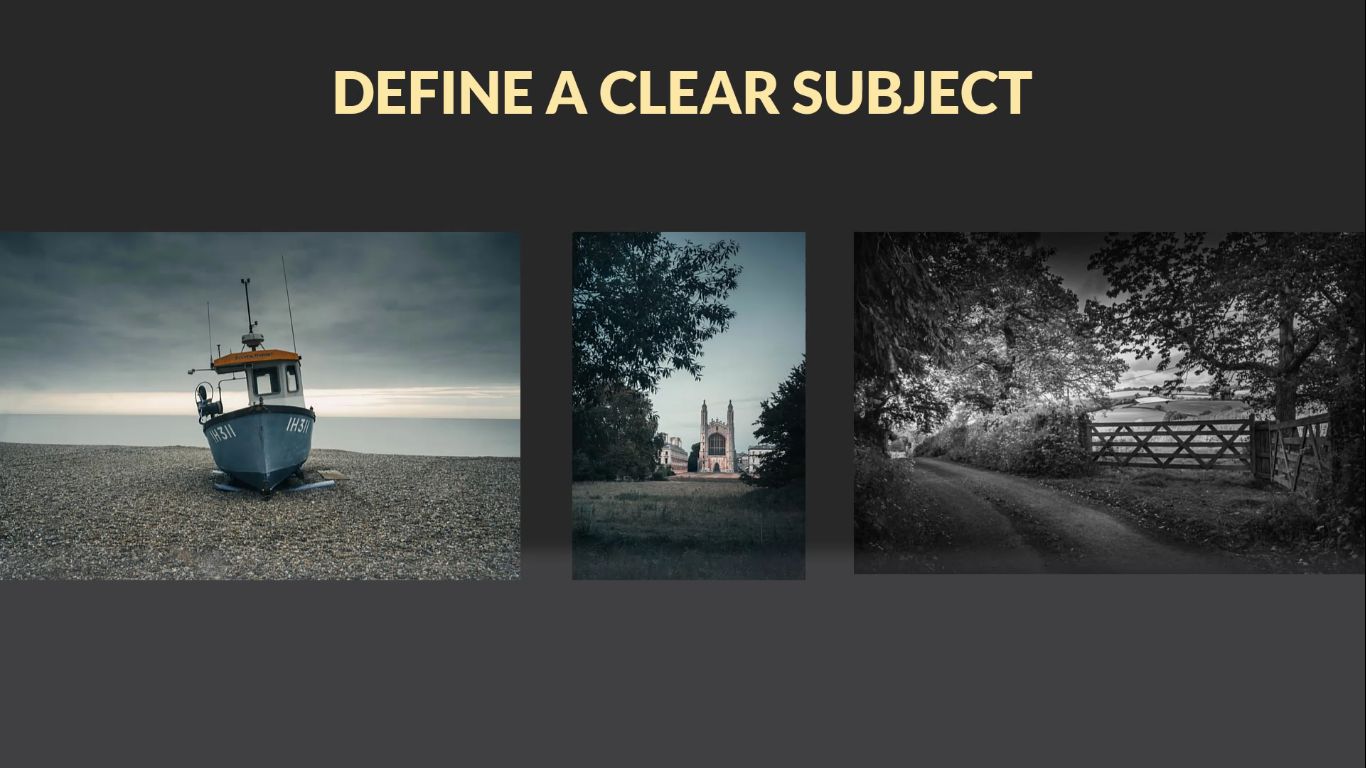
A More Complex Example: King’s College, Cambridge
Now let’s look at something a bit more complicated.
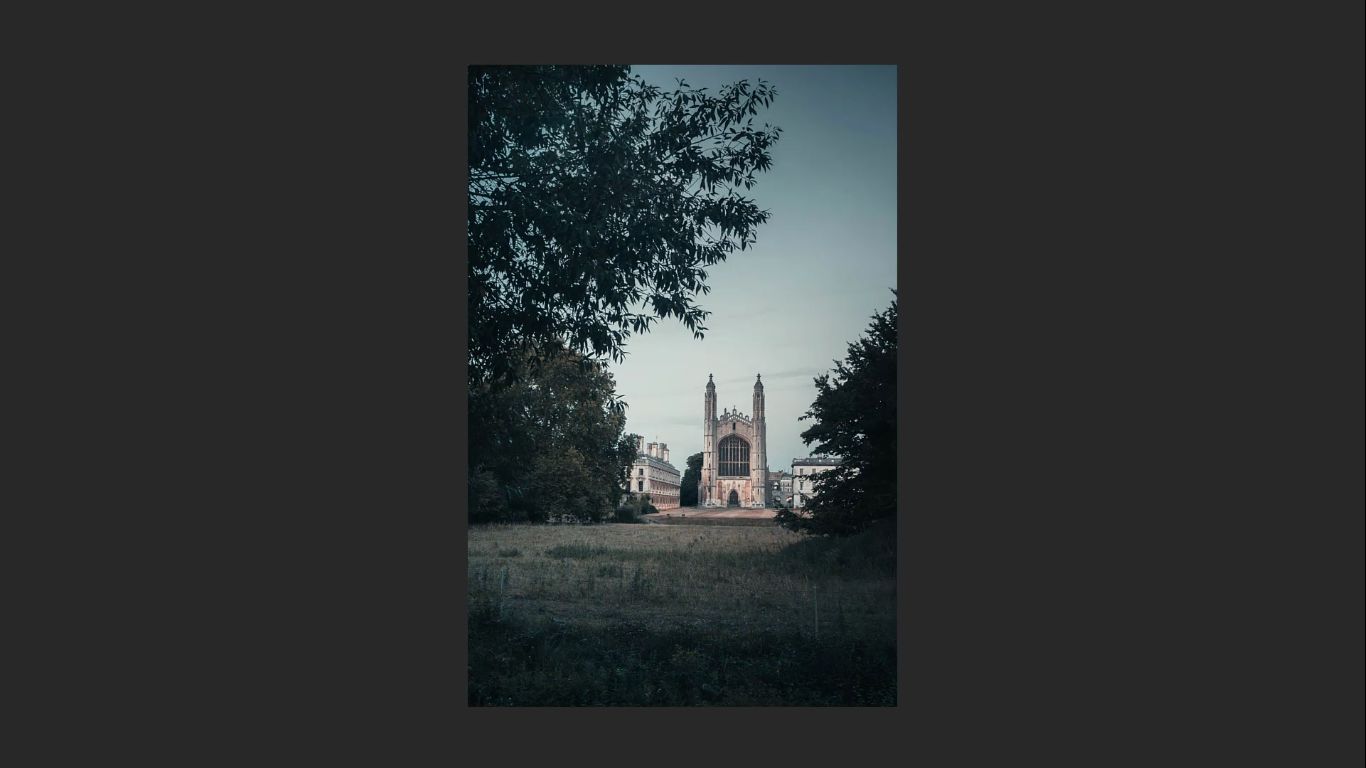
This photo shows King’s College, part of Cambridge University – a scene used many times in films and dramas. So I thought I’d have a go at it.
What’s the subject of the photo?
I can guarantee your eye landed on King’s College Chapel in the background. Despite all the distractions – the jagged tree edges, darker areas around the frame – the subject stands out.
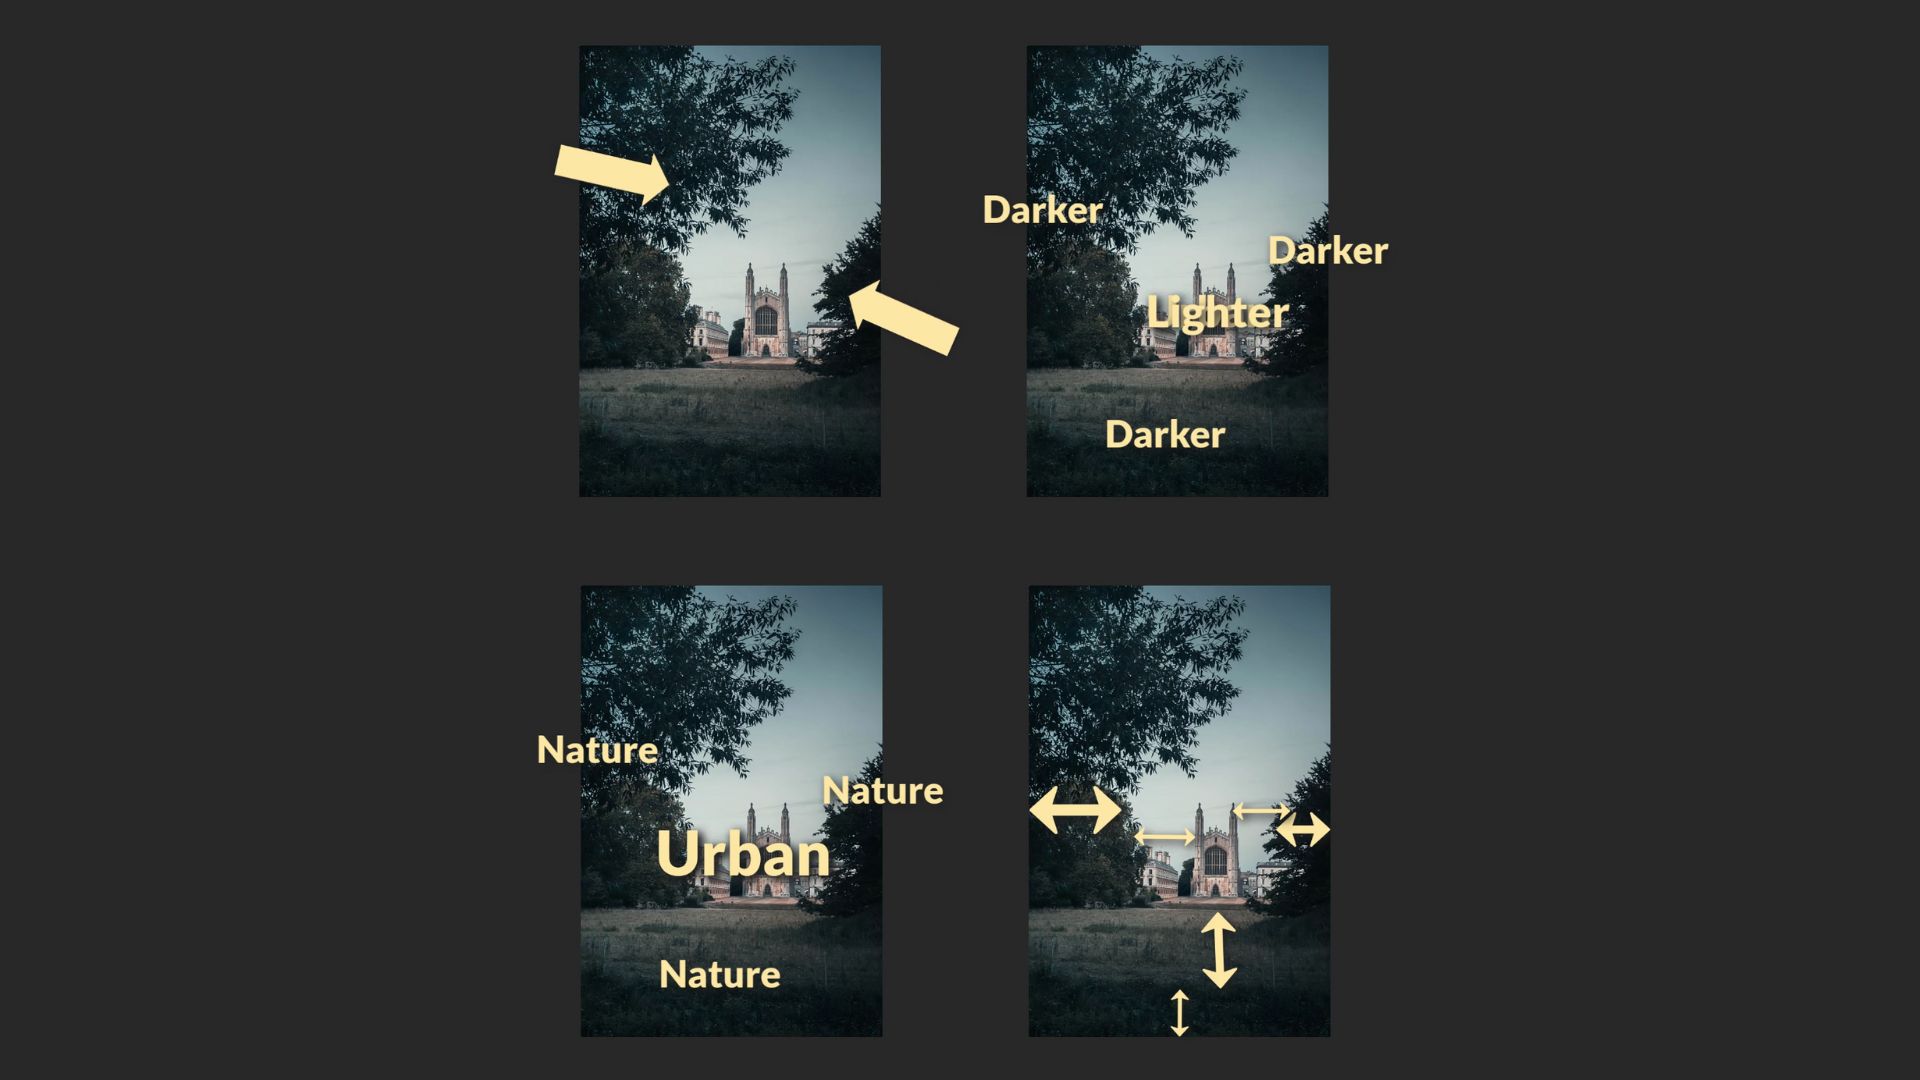
Why?
Because:
- The subject sits against a lighter sky, making it more defined
- There’s blank space around the building, giving it room to breathe
- It’s framed by foliage and trees, which guide the viewer’s eye inward
- The top of the image is darker, gradually becoming lighter toward the centre, where the building is
- There’s a contrast between the urban subject and the natural elements around the edges
All of this combines to draw the eye straight to the college without distraction.
One more important detail:
The subject is placed far enough inside the frame that the viewer doesn’t start looking off to the edge wondering what else might be just out of sight.
When that happens, you get jarring. You get distracted. The image doesn’t work so well.
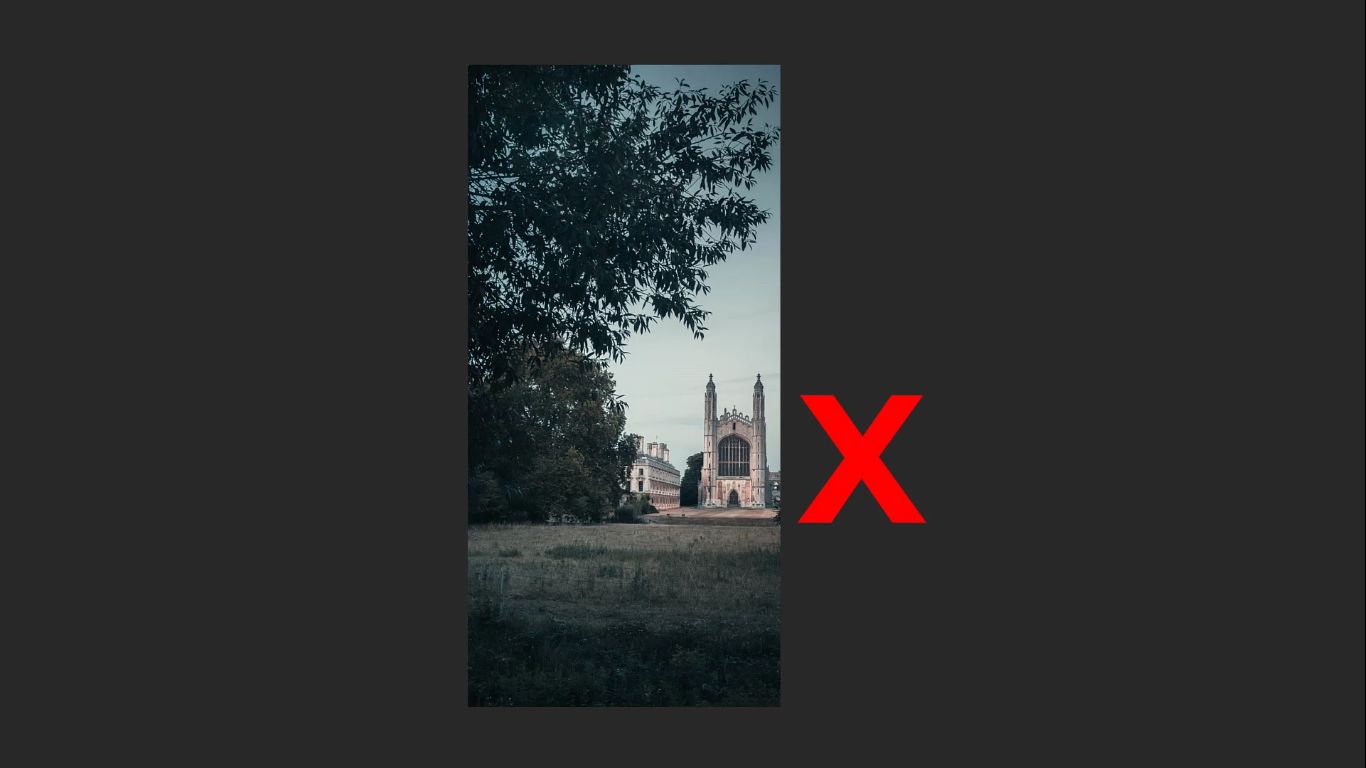
So, make sure your subject is placed far enough into the frame to keep attention within the photo itself.
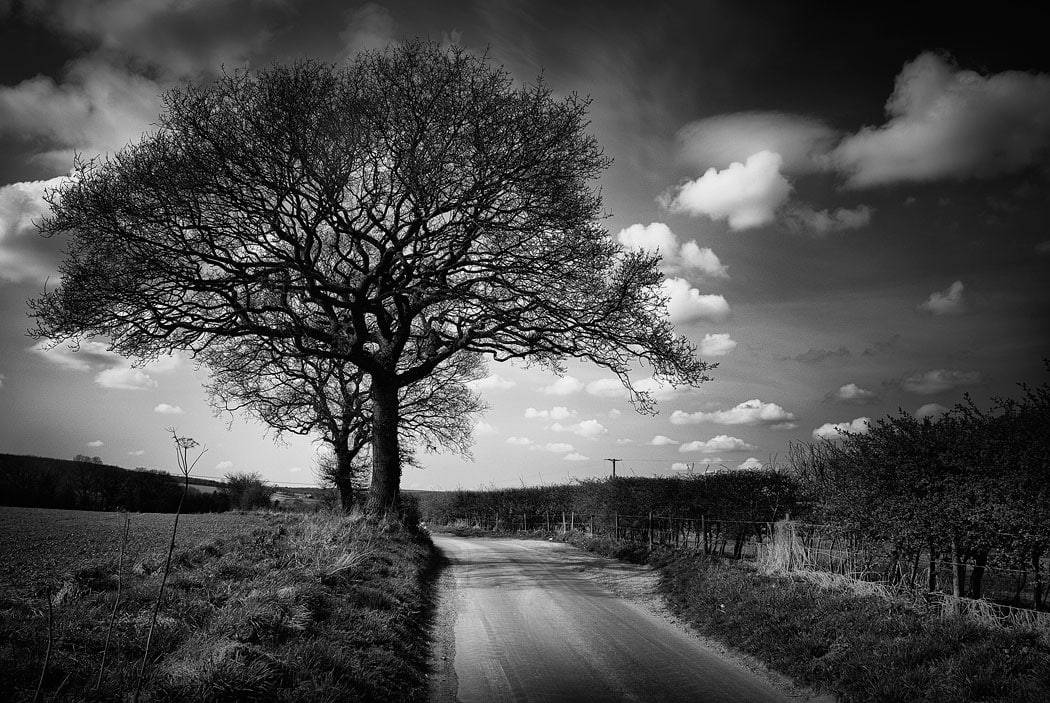
When Leading Lines Define the Subject
Now let’s look at something even more ambiguous – a scene that includes strong leading lines.
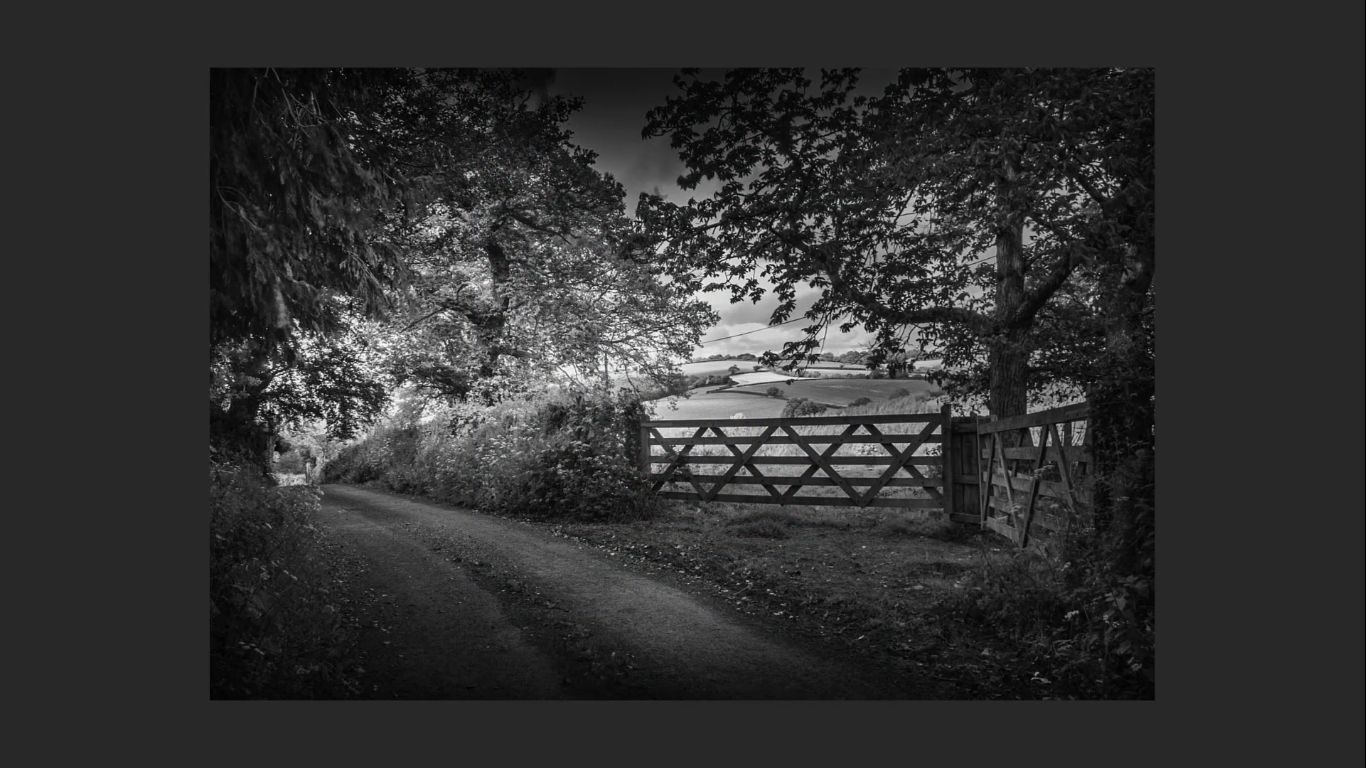
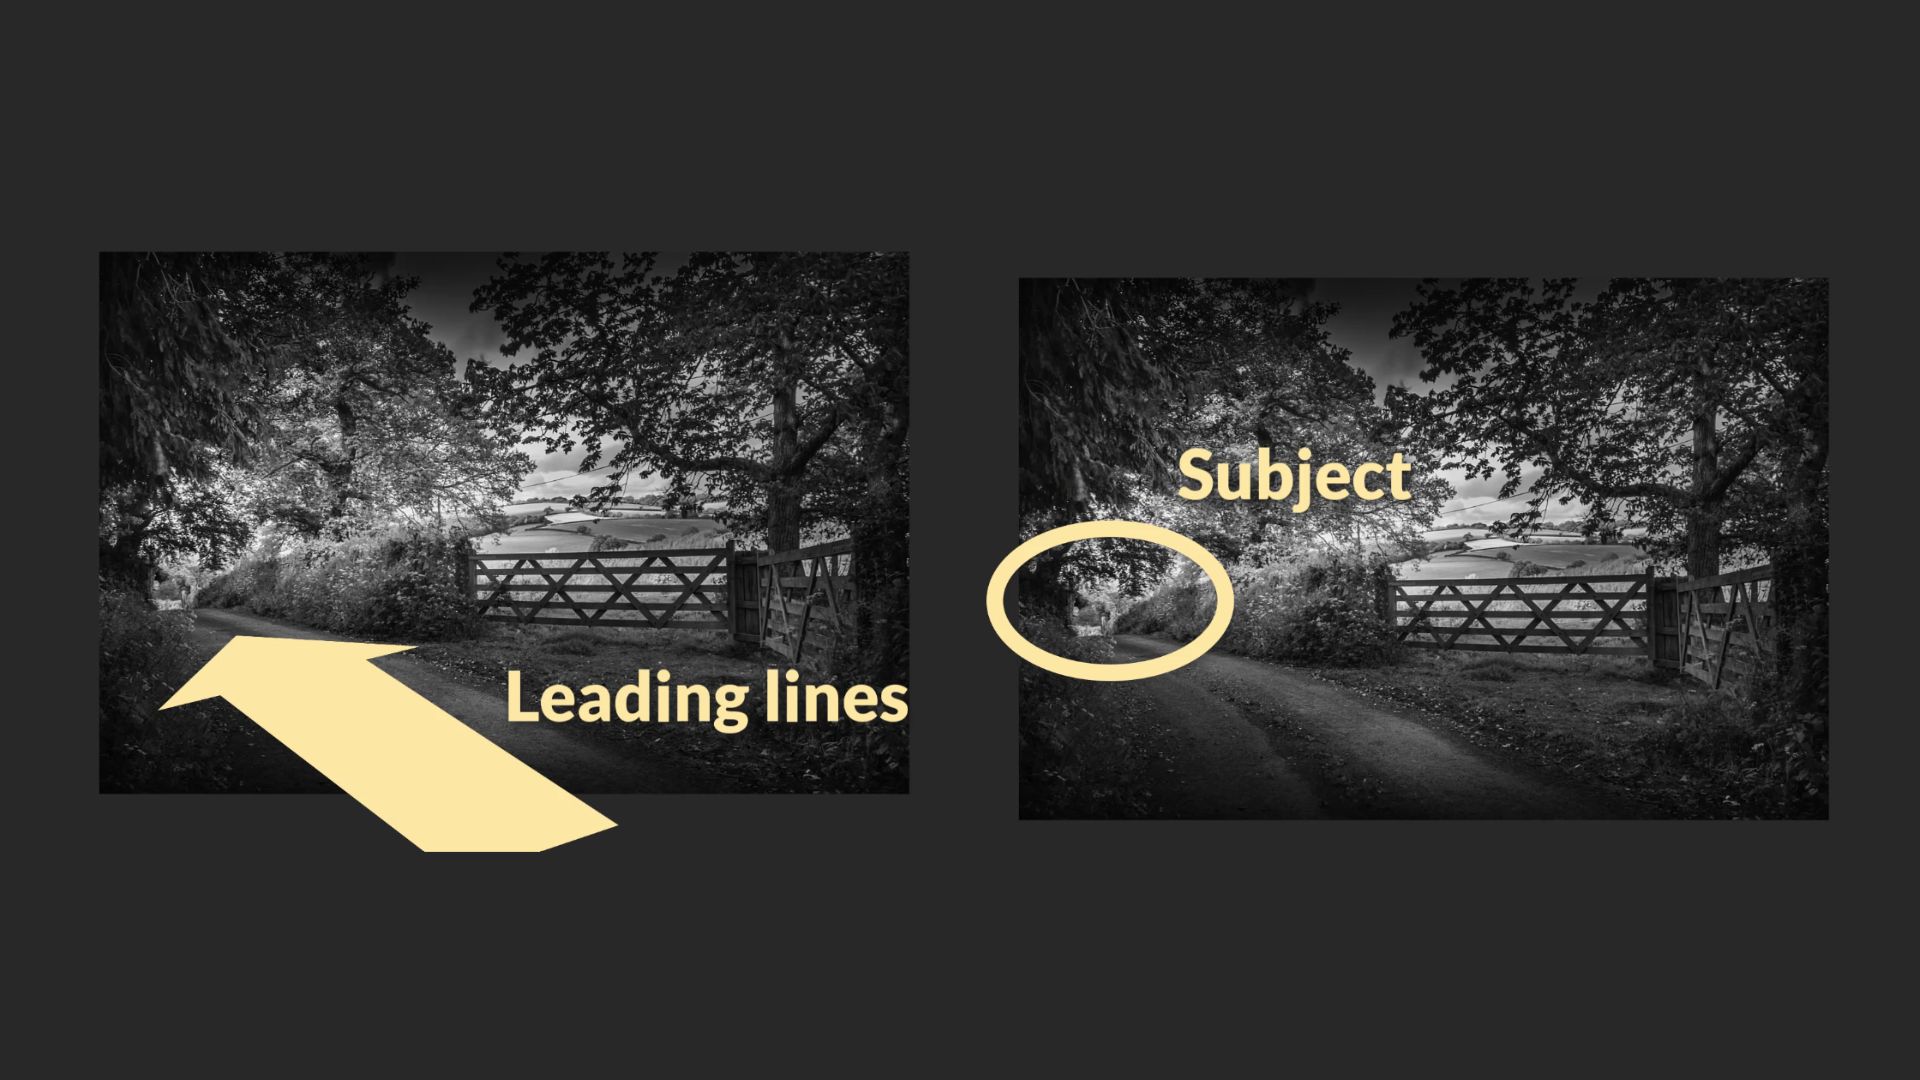
Leading lines are incredibly powerful. They guide the viewer’s eye across the frame, and usually, the eye will settle at the end of converging lines.
In this example, the left side of the image becomes the subject – not because it’s visually dominant, but because that’s where the lines lead your eye.
Here’s what happens:
- The eye follows the leading lines
- It settles at the end point (which becomes the subject)
- From there, the viewer can explore the rest of the image
Even though there’s a lot of distracting detail elsewhere – trees, for example – the viewer’s eye always comes back to where the lines finish.
And I felt that when I took the photo. That was part of that inspired moment that made me stop and take the photo. Having trust and belief in that inspired feeling moment will always generate the best photographs.
Conclusion
So, here’s the key takeaway: the subject is everything. It’s your job, as the photographer, to show us what you saw – and to do it with confidence and clarity. Whether the subject is placed dead centre, framed by trees, or revealed at the end of leading lines, the viewer should never have to guess.
Don’t overthink the rules. Trust your instinct. That gut feeling you had when you raised the camera? That’s your moment of inspiration – believe it and trust it, and that will tell you what the subject is.
Now I’d love to hear from you.
When you’re out taking photos, how do you decide what your subject is? Do you feel it instantly, or is it something you have to work out over time?
Share your thoughts in the comments…