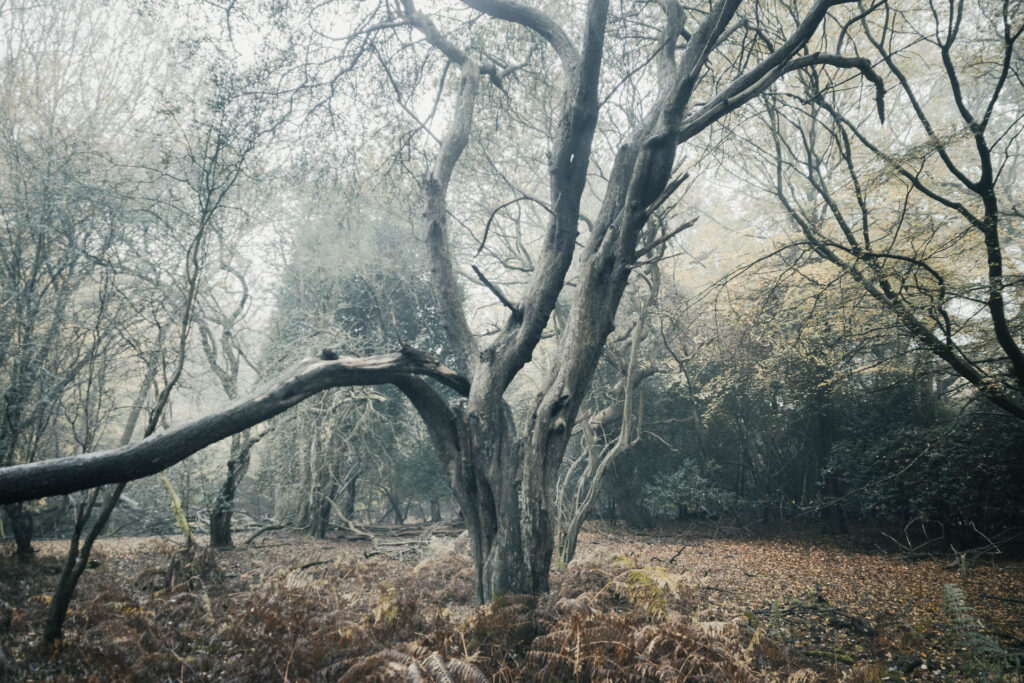
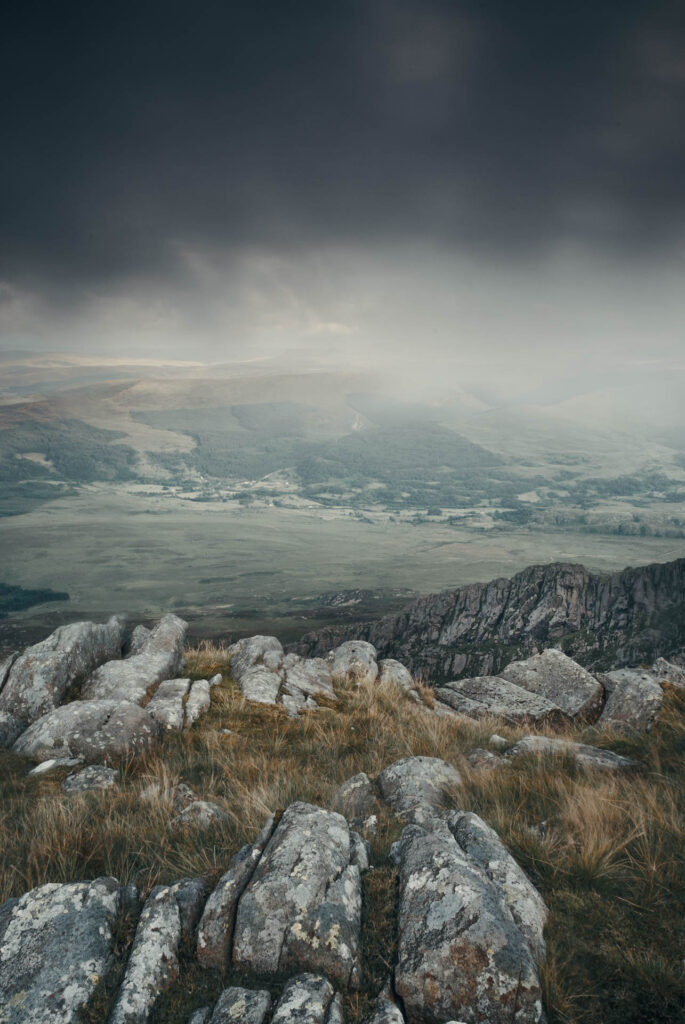
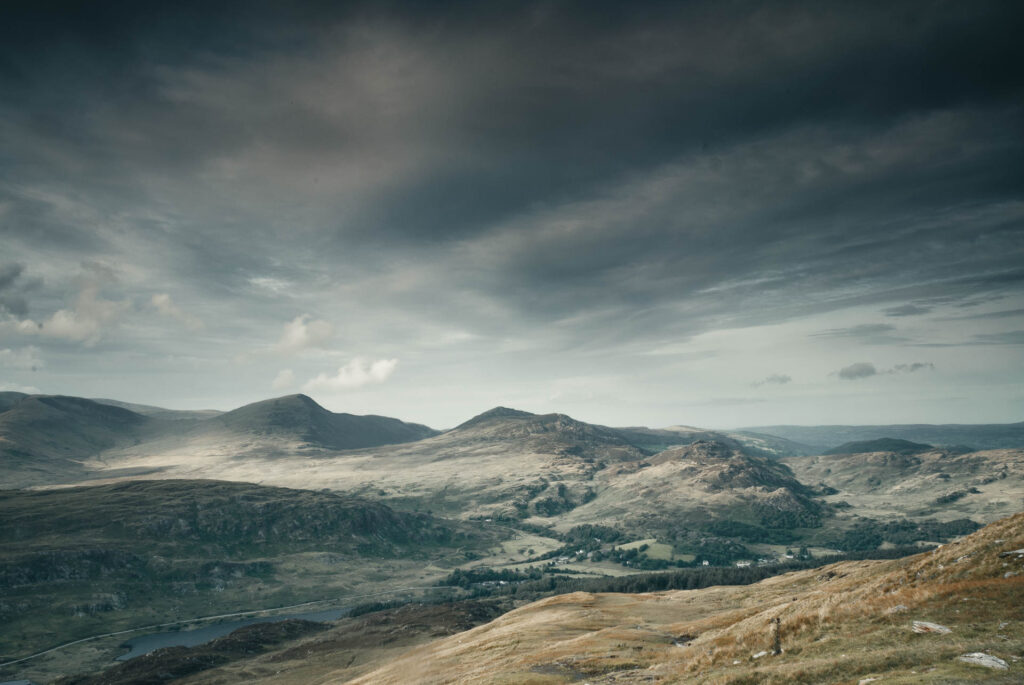
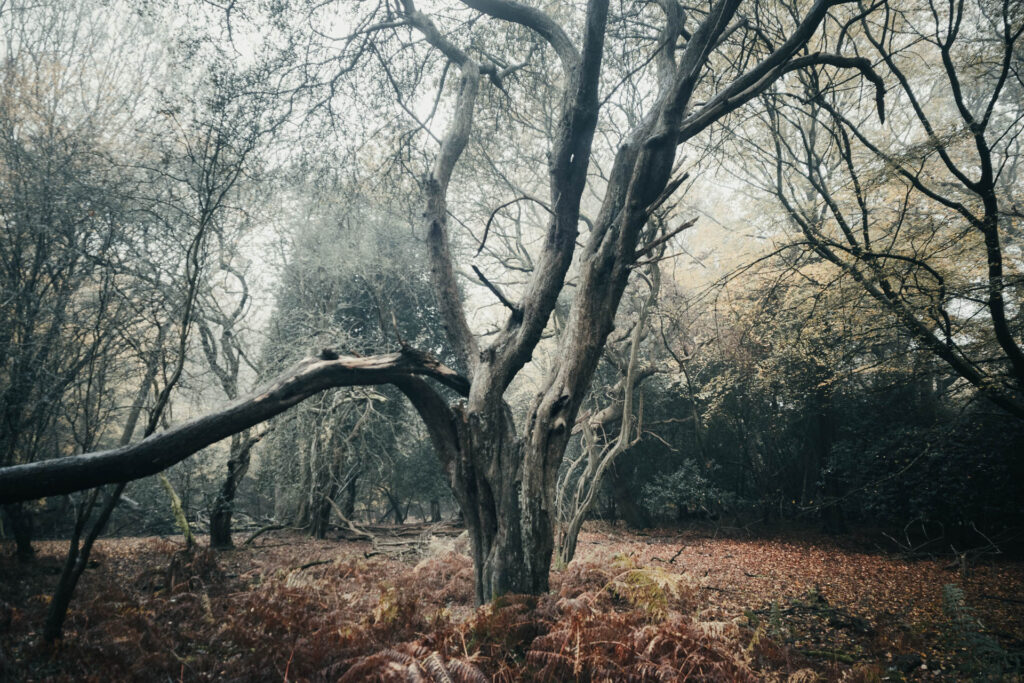
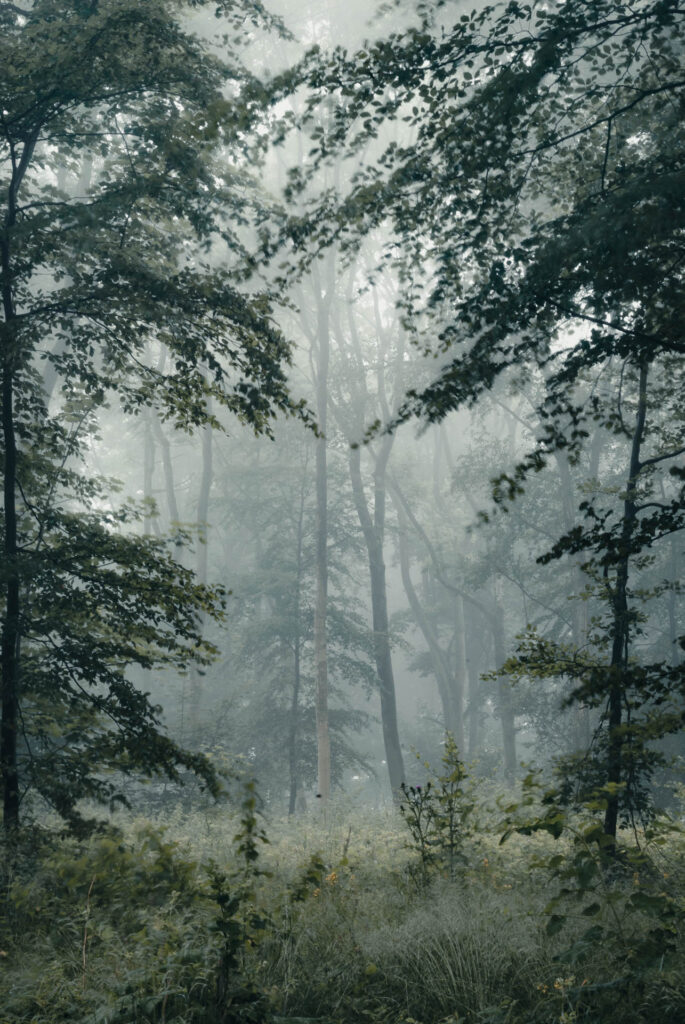
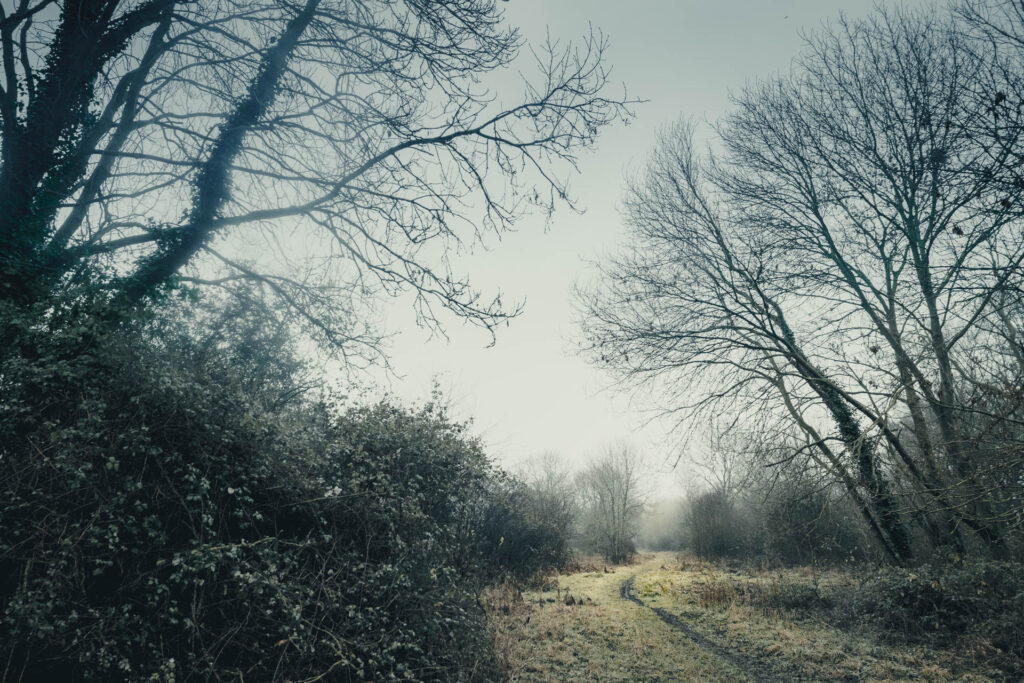
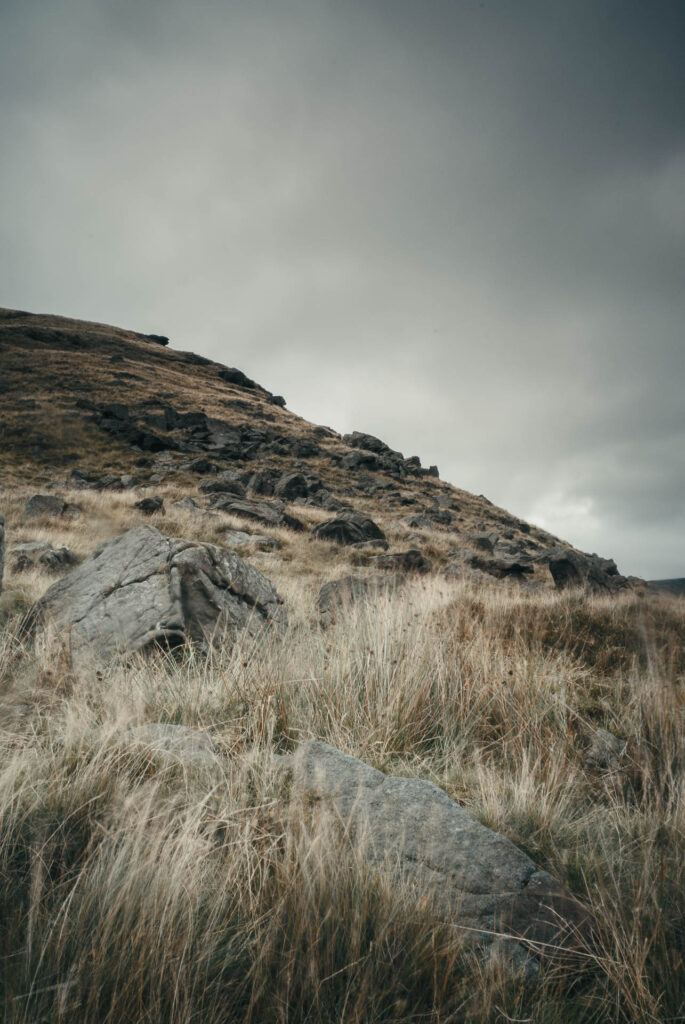
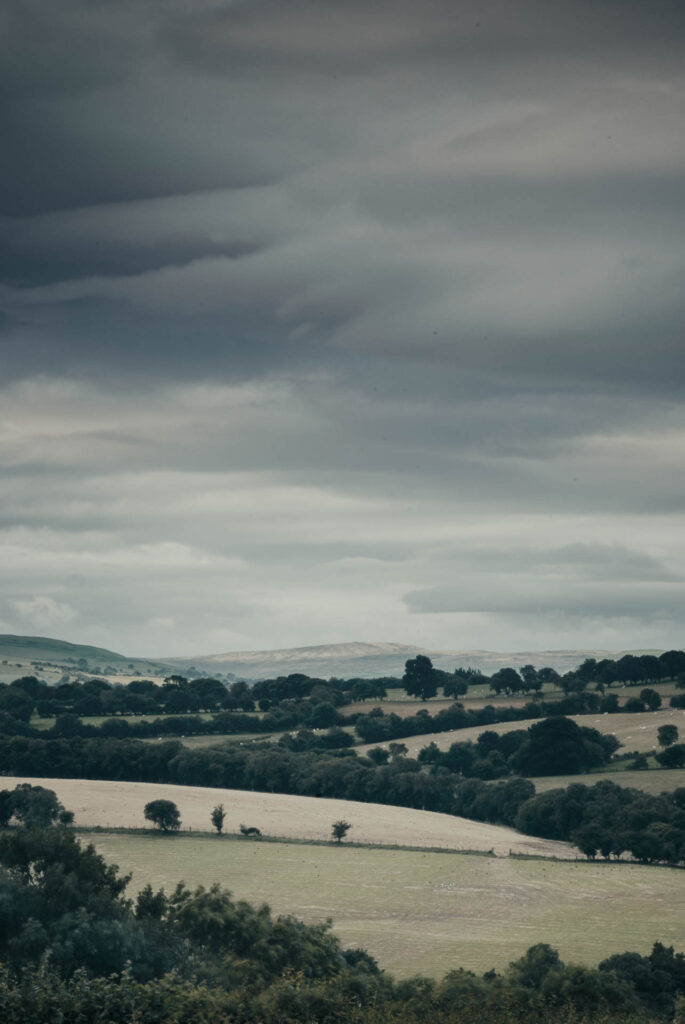
While some images benefit from a full black-and-white conversion, it can strip away important visual information. On the other hand, leaving colours untouched – or even boosting saturation in hopes of making the photo “pop” – can actually harm the image’s appeal.
A middle ground can often be to dampen colour, especially the greens, and shifting hues to create subtle separation between tones that weren’t visible before.
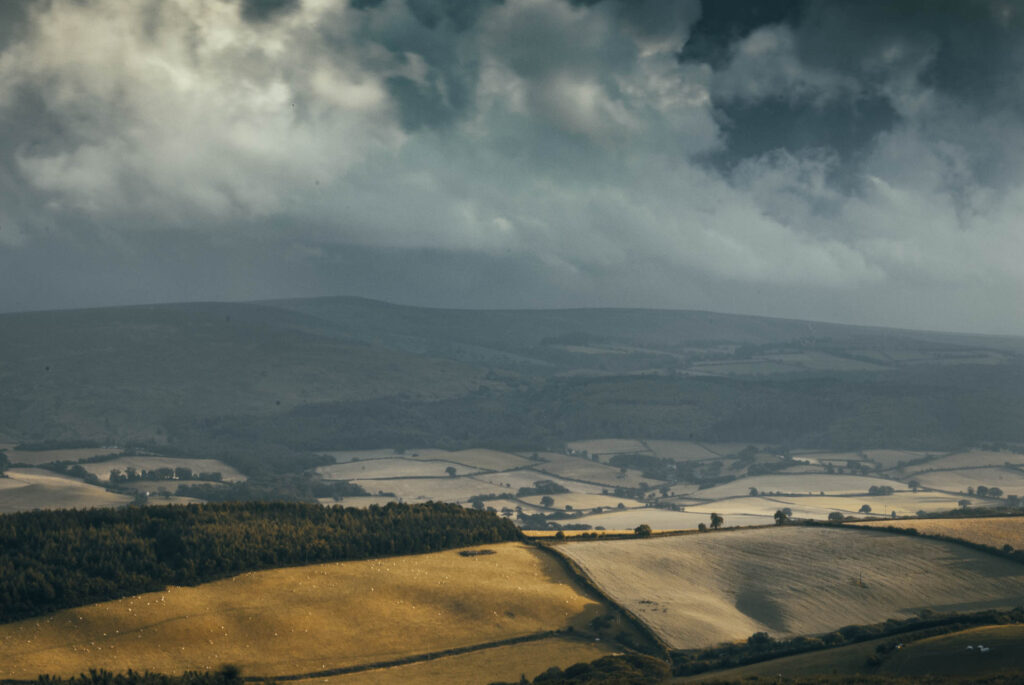
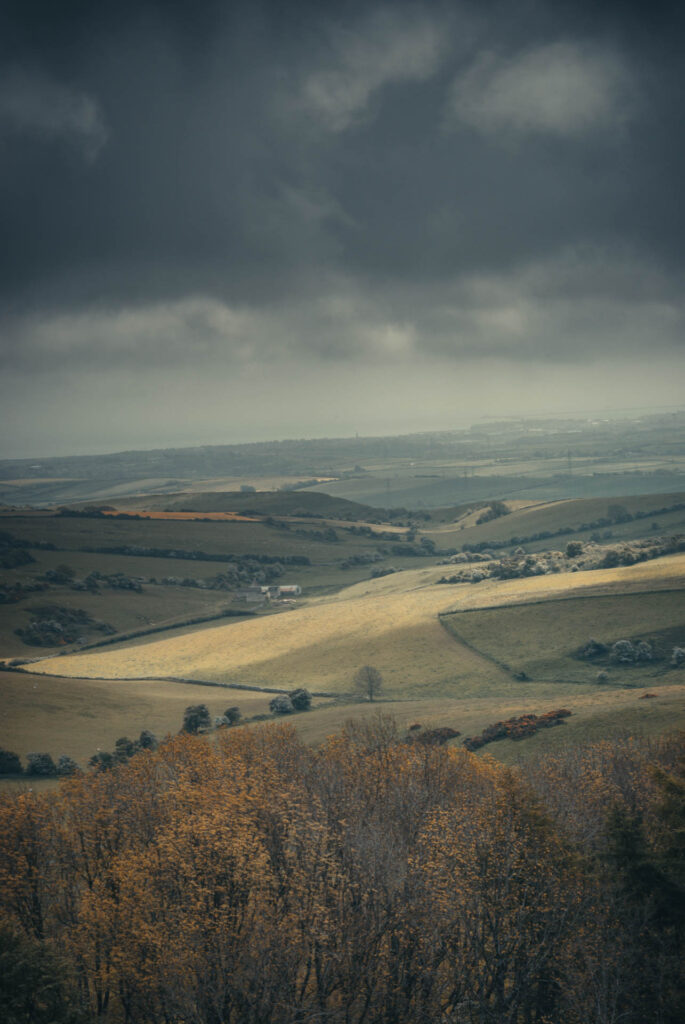
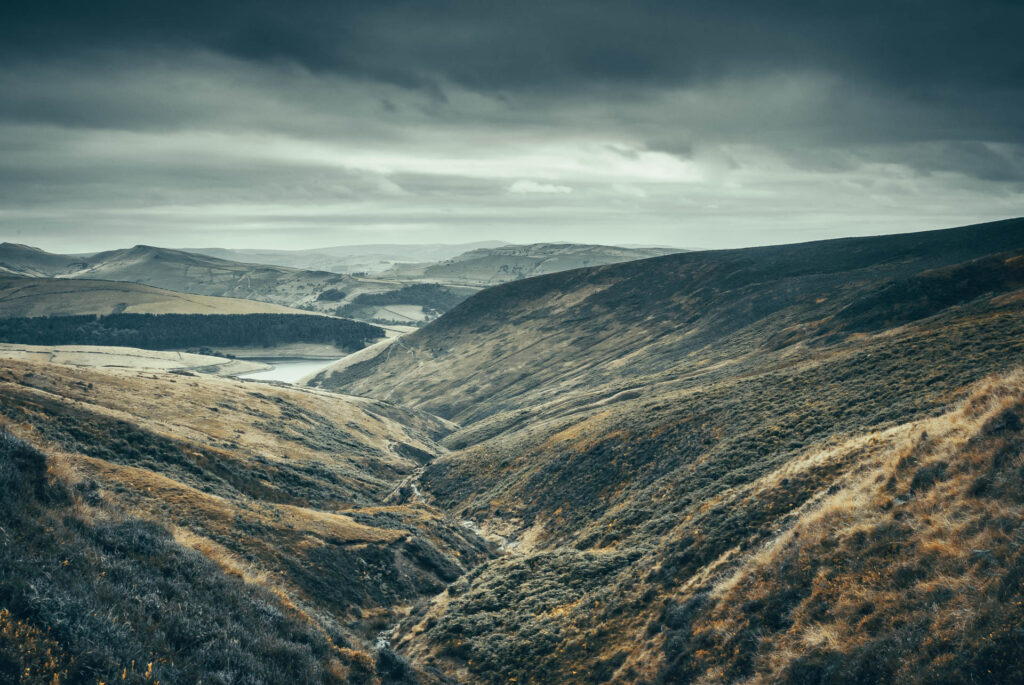
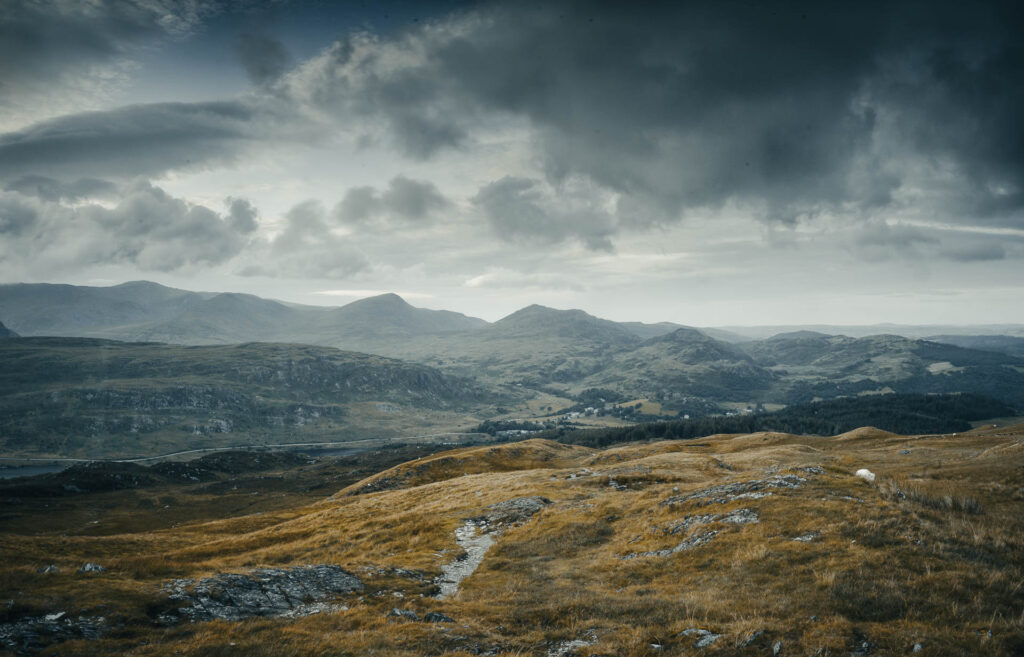
This editing style works particularly well on cloudy days with soft, diffused light – and especially effective with lush summer greens, that can be very distracting in a composition.
You can get this look with my Cinematic Nature Presets, available for purchase, which give you the same atmospheric style seen in this gallery.
And for the more technical out there: The effect is created entirely in Lightroom Classic using a consistent, formula-based editing process.
The approach starts by reducing contrast and saturation, then using a combination of HSL and Calibration tools to shift hues – particularly greens, reds, and yellows – to eliminate colour distractions. The real transformation happens in the Tone Curve, where adjustments to the Red, Green, and Blue channels introduce subtle colour casts that give the image a true cinematic feel.
At the bottom of this page, you’ll find a YouTube video tutorial where I walk you through the exact editing process. You’ll learn how to create this look yourself so that you can make your own presets.


Create your own Moody atmospheric look, without presets
This is a video tutorial that takes you through the whole process.
You will see how I process the image manually
With each section fully explained
And exactly how to make changes to the tone curve and how to manage colour using the HSL sliders and the Calibration tool
Everything is explained without having to apply a preset, so that you can go and create your own amazing presets, just like mine!